gamerman 5000
Developer
To install Resident evil 2 classic rebirth we will do almost the same steps as the previous tutorial "Installation guide for resident evil classic rebirth " but with some variations.
Resident evil 2 classic rebirth consists of several patches specifically for MediaKite's Japanese release of the game, its main goal is to run this "old" game on current computers.
Installing the game.
1.- As we have already seen, the Japanese version of this game is needed, so the patches will not work in other releases that are not from Japan.
2.- Once you get the game, copy its content to "C:\Program Files(x86)\Capcom\BIOHAZARD2".

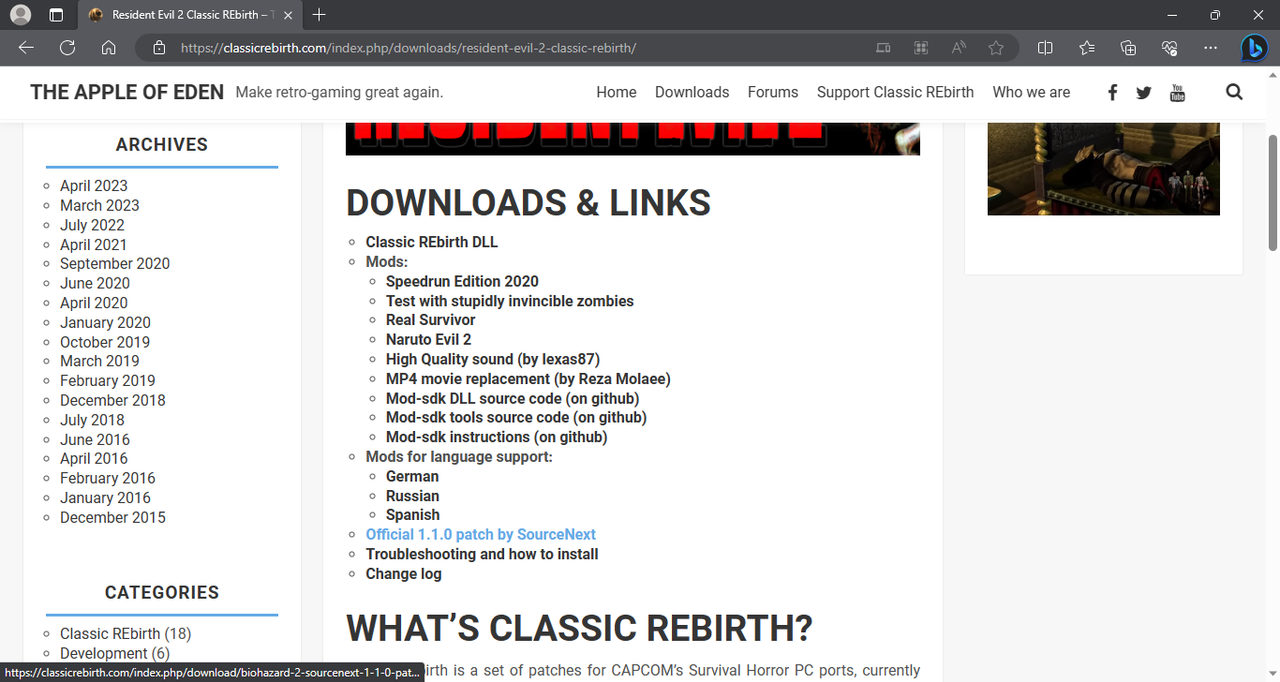
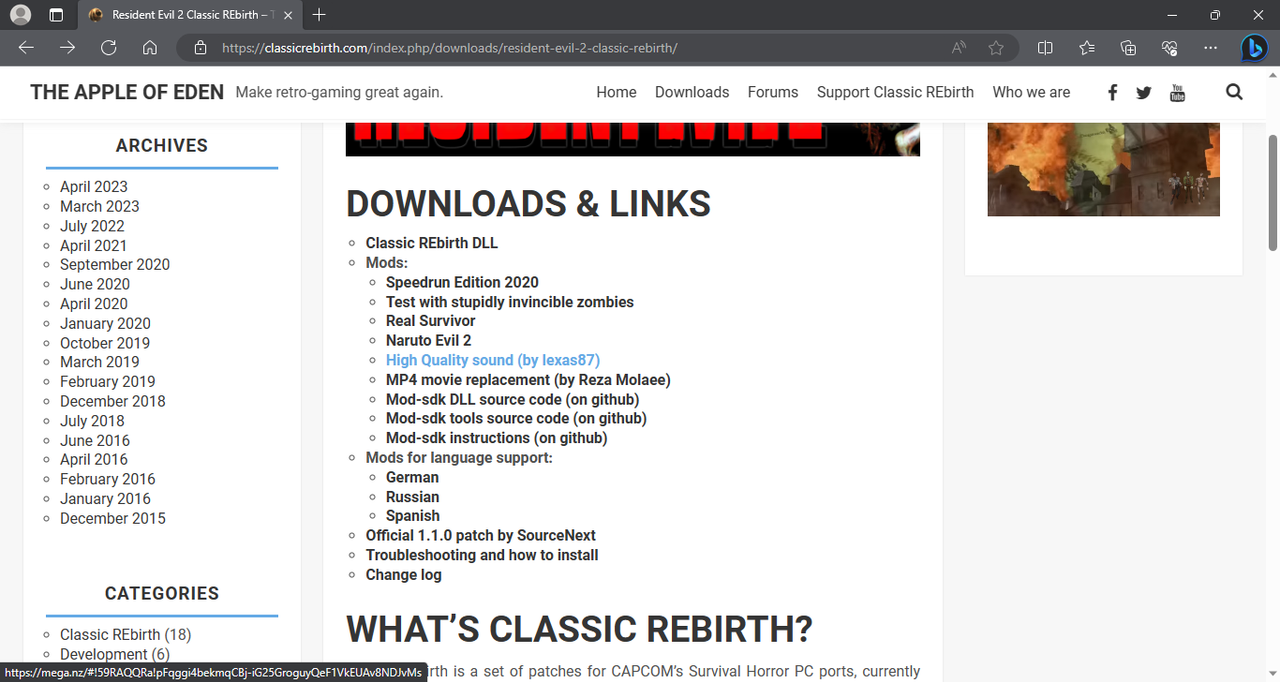
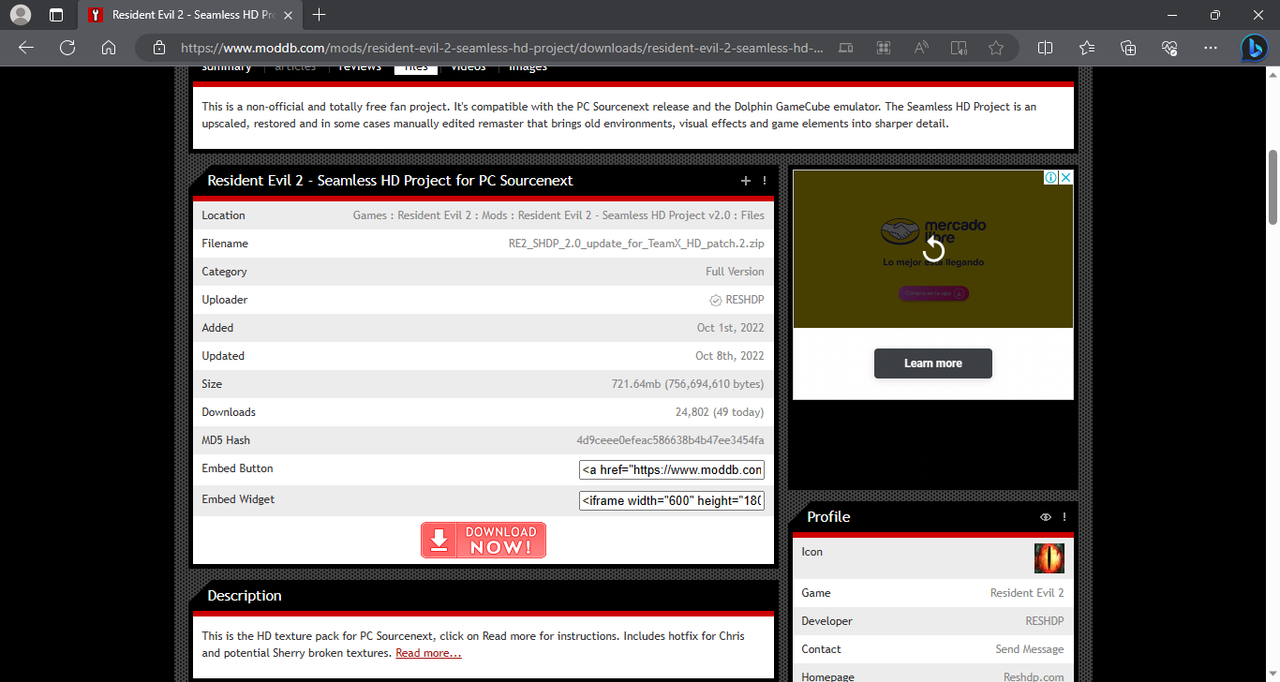
3.- Download the Official 1.1.0 patch from the following link:
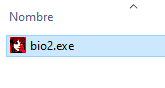
4.- Unzip the file and rename it the same as the game executable as "bio2.exe".
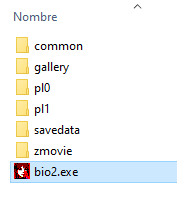
5.- Place the file in the game address "C:\Program Files(x86)\Capcom\BIOHAZARD2" and overwrite it.
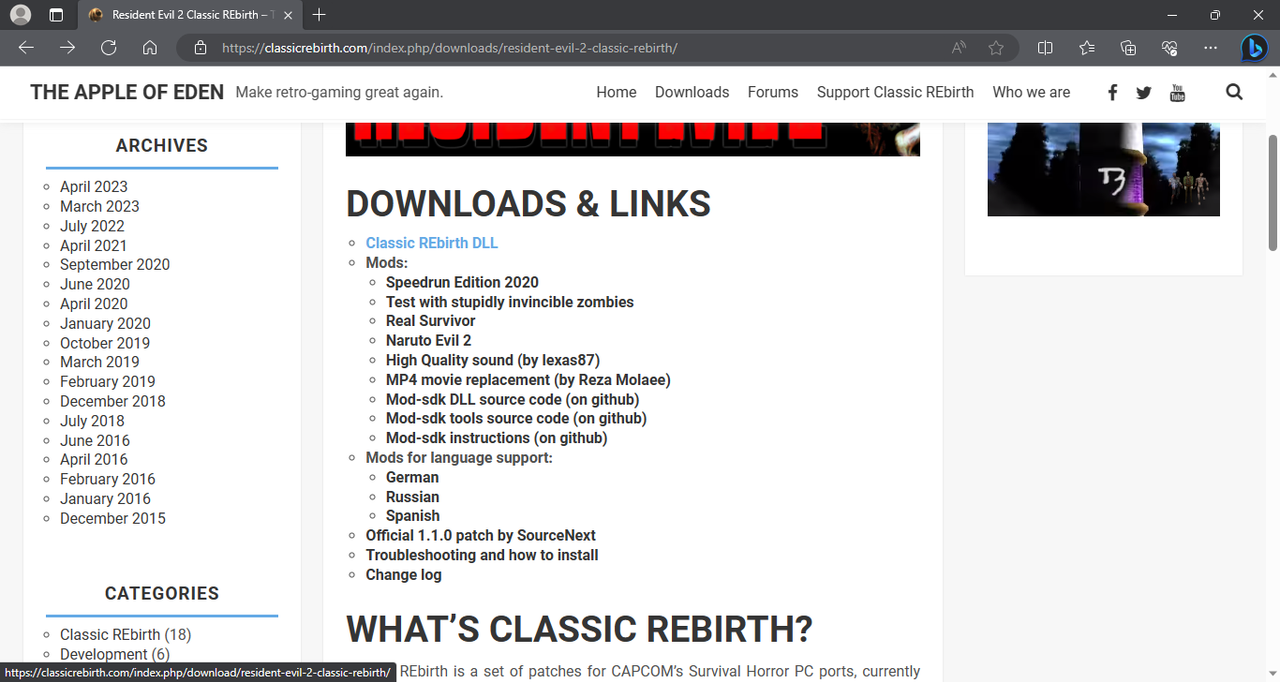
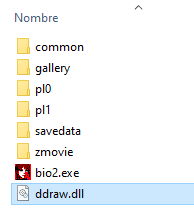
6.- From the same link in step 3 Download the "Classic Rebirth DLL" patch.
7.- Unzip it and copy the file "ddraw.dll" that you downloaded in the root of the game.
8.- From the same link in step 3 Download the "High Quality sound" mod.
9.-Unzip the file and copy the following folders with the name: "COMMON", "PL0" and "PL1".
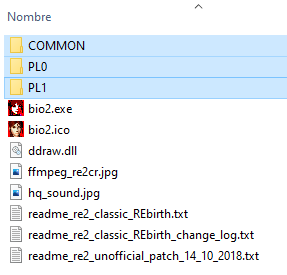
10.- Paste the folders you copied into the root of the game and overwrite.

11.- From the same link in step 3 Download the "MP4 movie replacement" mod.
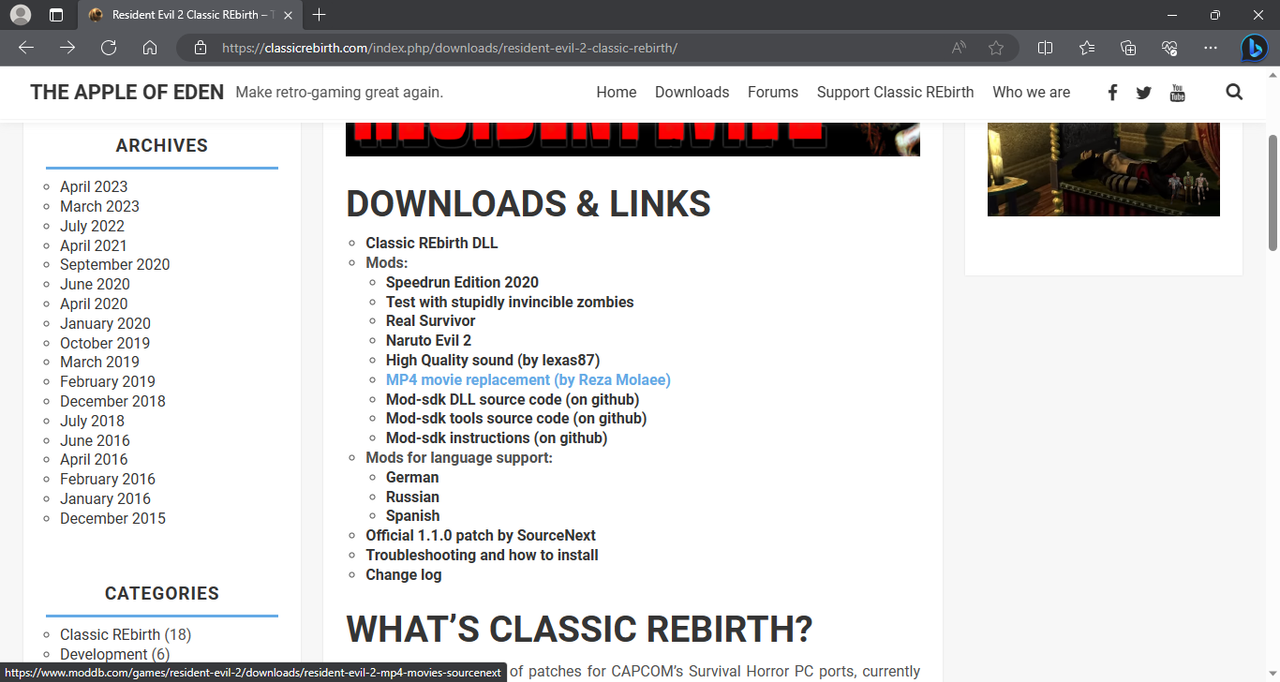
12.- Unzip the file and copy the three folders with the names: "pl0", "pl1" and "zmovie".
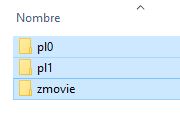
13.- Paste the folders in the root of the game and overwrite.

14.- From the same link in step 3 Download the patch "Mods for language support" in my case "spanish".

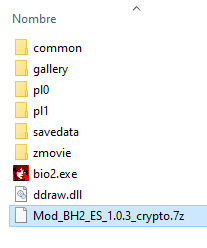
15.-Place the file "Mod_BH2_ES_1.0.3_crypto.7z" in the root folder of the game.
EDIT: Added a missing step to install hd textures.
16.- This step is optional, if you want to improve the textures of the game.
You can enter the following link to download the textures in HD.

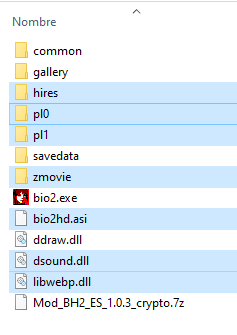
17.- Unzip the file and copy the contents of the folder you downloaded.
18.- Paste the content in the game installation root and overwrite.
Important: If the file "dinput8.dll" exists in your previous installation, delete it.
Note: if you already copied the folder named "hires" from step 21 just delete it first.
19.- Download the texture pack plugin from the following link:
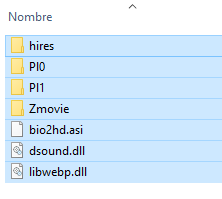
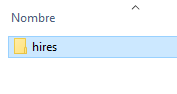
20.- Unzip the file and copy the folder with the name "hires".
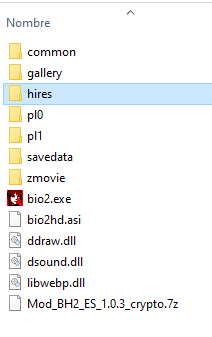
21.- Paste the folder in the root of the game and overwrite.
Running the game
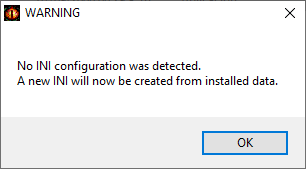
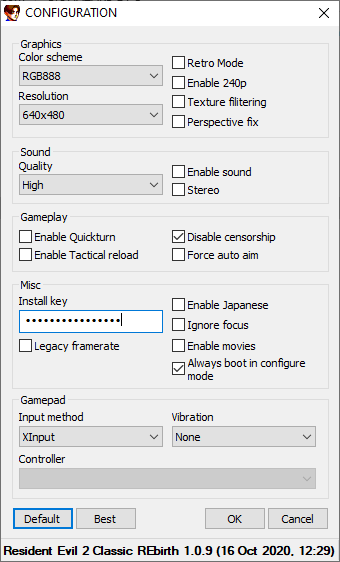
22.- Run the file "bio2.exe" and a warning message will appear saying "No INI Configuration was detected. A new INI Will now be created from installed data." Click on "OK".
23.- Place the serial number in the "install key" section of the game.
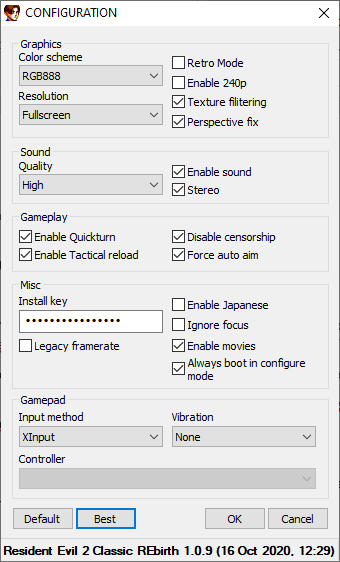
24.-Click on "best", enable the audio and set it to "stereo" and uncheck "legacy framerate" set the "color scheme" to "RGB888".
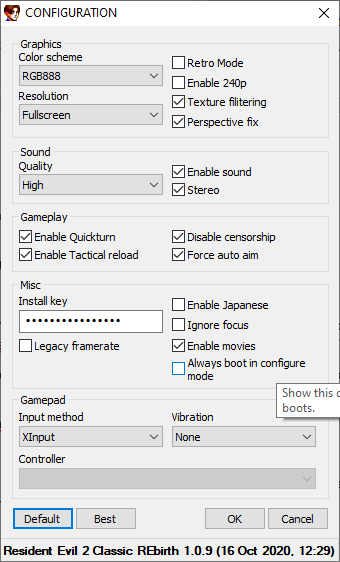
25.-If you do not want the configuration window to appear every time the game starts, deactivate "Always but in configure mode".
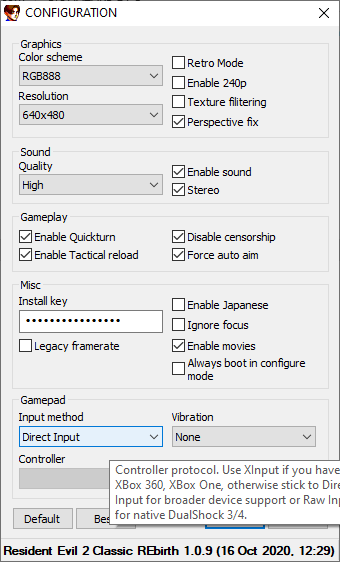
26.- Connect your controller and in the "Gamepad input method" section choose the "Direct Input" option. This will vary depending on the controller you are using.
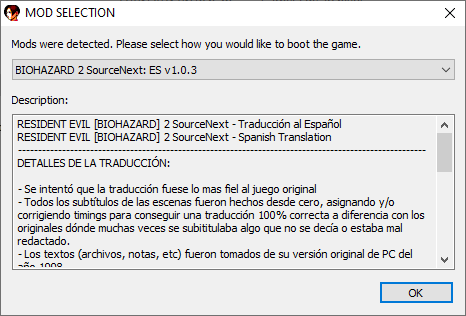
27.- Click on "Ok" and select the translation you downloaded in step 14 and press "Ok".
Configuring the Controller
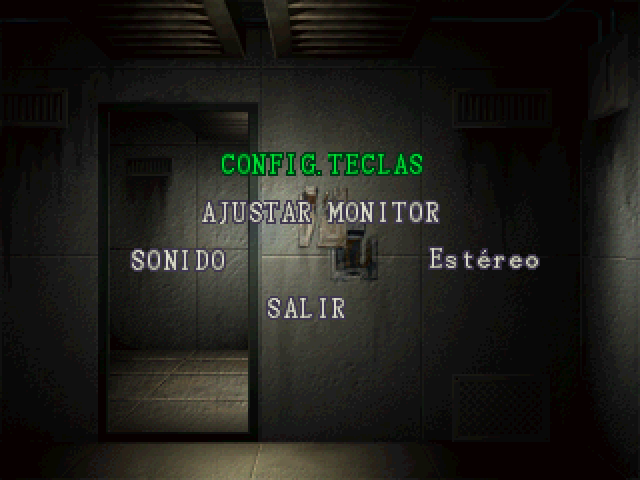
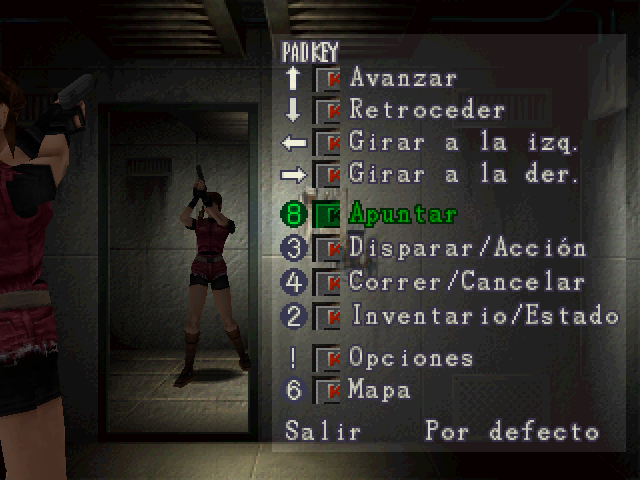
28.- To configure the control once the game is launched, press "F5" on the keyboard and select "Config. KEYS", adjust the controller to your liking.
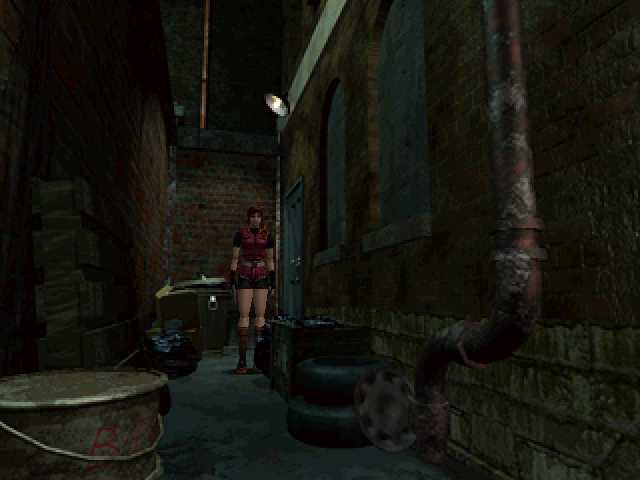
29.- Enjoy the game.
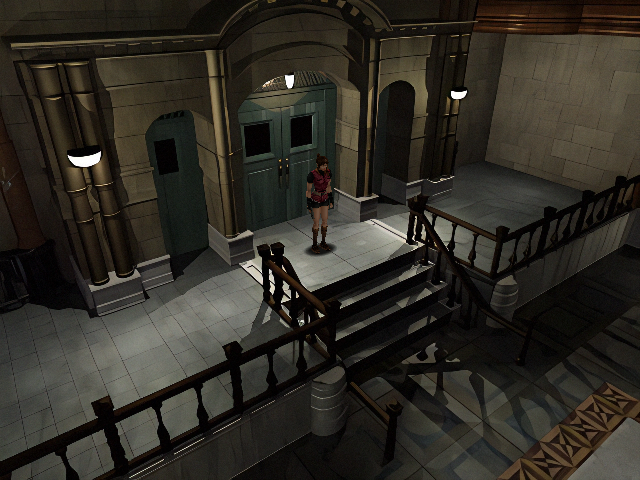
No Hd:
With Hd:
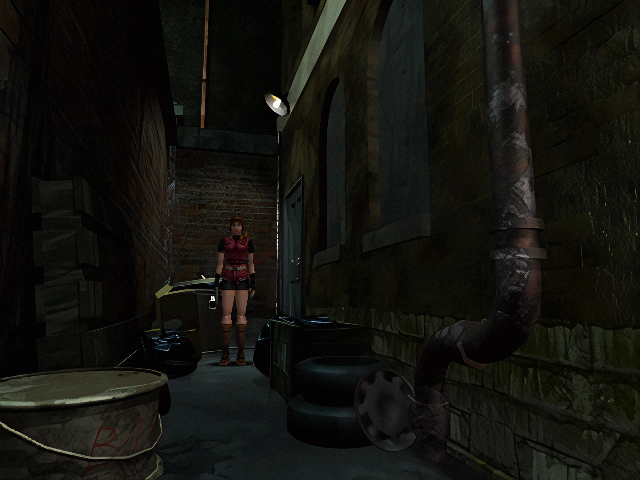
No Hd:
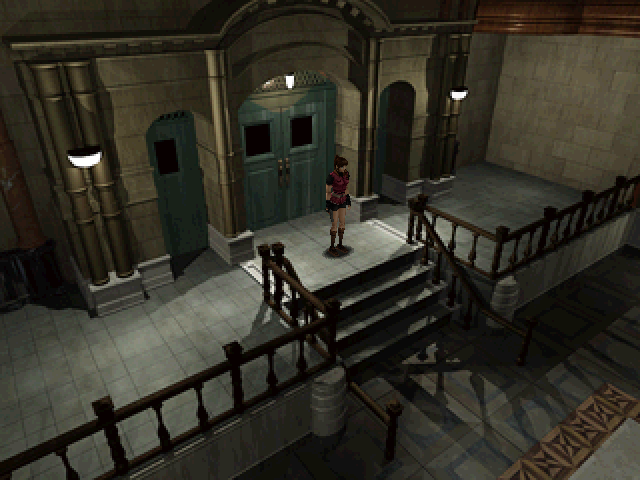
With Hd:
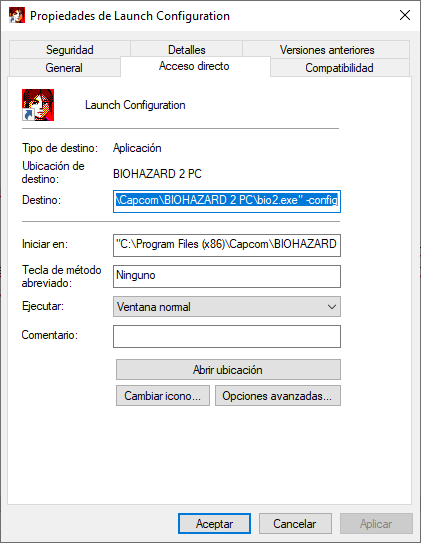
30.- To see the configuration options again, create a "shortcut" of the file "bio2.exe" with the name "Launch Configuration".
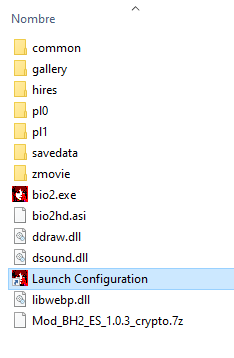
31.- Right click on the shortcut and select "properties". In the "Destination" section add "-config" at the end and every time you want to open the configuration you must launch the "Launch Configuration" file.
Note: if you installed the texture pack of step 16 and experience problems with cinematics (audio out of sync, slow video) just replace the "pl0", "pl1" and "zmovie" folders by copying them from the file"re2_mp4_v1. 0.7z" from step 11. This will only replace the videos but the hd textures will still be installed.
Edit:
Solution 2: Download the following file "fix_movies_RE2.7z", unzip it and copy the folders named "Pl0", "Pl1" and "Zmovie" to the root of the game and overwrite. These video playback issues are common for w10 users.
Resident evil 2 classic rebirth consists of several patches specifically for MediaKite's Japanese release of the game, its main goal is to run this "old" game on current computers.
Installing the game.
1.- As we have already seen, the Japanese version of this game is needed, so the patches will not work in other releases that are not from Japan.
2.- Once you get the game, copy its content to "C:\Program Files(x86)\Capcom\BIOHAZARD2".
3.- Download the Official 1.1.0 patch from the following link:
4.- Unzip the file and rename it the same as the game executable as "bio2.exe".
5.- Place the file in the game address "C:\Program Files(x86)\Capcom\BIOHAZARD2" and overwrite it.
6.- From the same link in step 3 Download the "Classic Rebirth DLL" patch.
7.- Unzip it and copy the file "ddraw.dll" that you downloaded in the root of the game.
8.- From the same link in step 3 Download the "High Quality sound" mod.
9.-Unzip the file and copy the following folders with the name: "COMMON", "PL0" and "PL1".
10.- Paste the folders you copied into the root of the game and overwrite.
11.- From the same link in step 3 Download the "MP4 movie replacement" mod.
12.- Unzip the file and copy the three folders with the names: "pl0", "pl1" and "zmovie".
13.- Paste the folders in the root of the game and overwrite.
14.- From the same link in step 3 Download the patch "Mods for language support" in my case "spanish".
15.-Place the file "Mod_BH2_ES_1.0.3_crypto.7z" in the root folder of the game.
EDIT: Added a missing step to install hd textures.
16.- This step is optional, if you want to improve the textures of the game.
You can enter the following link to download the textures in HD.
17.- Unzip the file and copy the contents of the folder you downloaded.
18.- Paste the content in the game installation root and overwrite.
Important: If the file "dinput8.dll" exists in your previous installation, delete it.
Note: if you already copied the folder named "hires" from step 21 just delete it first.
19.- Download the texture pack plugin from the following link:
20.- Unzip the file and copy the folder with the name "hires".
21.- Paste the folder in the root of the game and overwrite.
Running the game
22.- Run the file "bio2.exe" and a warning message will appear saying "No INI Configuration was detected. A new INI Will now be created from installed data." Click on "OK".
23.- Place the serial number in the "install key" section of the game.
24.-Click on "best", enable the audio and set it to "stereo" and uncheck "legacy framerate" set the "color scheme" to "RGB888".
25.-If you do not want the configuration window to appear every time the game starts, deactivate "Always but in configure mode".
26.- Connect your controller and in the "Gamepad input method" section choose the "Direct Input" option. This will vary depending on the controller you are using.
27.- Click on "Ok" and select the translation you downloaded in step 14 and press "Ok".
Configuring the Controller
28.- To configure the control once the game is launched, press "F5" on the keyboard and select "Config. KEYS", adjust the controller to your liking.
29.- Enjoy the game.
No Hd:
With Hd:
No Hd:
With Hd:
30.- To see the configuration options again, create a "shortcut" of the file "bio2.exe" with the name "Launch Configuration".
31.- Right click on the shortcut and select "properties". In the "Destination" section add "-config" at the end and every time you want to open the configuration you must launch the "Launch Configuration" file.
Note: if you installed the texture pack of step 16 and experience problems with cinematics (audio out of sync, slow video) just replace the "pl0", "pl1" and "zmovie" folders by copying them from the file"re2_mp4_v1. 0.7z" from step 11. This will only replace the videos but the hd textures will still be installed.
Edit:
Solution 2: Download the following file "fix_movies_RE2.7z", unzip it and copy the folders named "Pl0", "Pl1" and "Zmovie" to the root of the game and overwrite. These video playback issues are common for w10 users.
Last edited: