gamerman 5000
Developer
In this Tutorial we will learn step by step the process to customize OPL with images alluding to our games.
Having our media files will make it easier to search our entire game catalog and improve the look of OPL.
Creating the ART folder
1.- This folder is created automatically the first time you run OPL but you can create it manually if you wish. For this we create a new folder with the name "ART" in the root of our USB device, there we will place all the images of our games .
Front cover
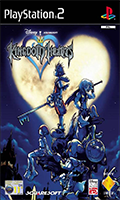
2.- This file corresponds to the "COV" nomenclature, it must have a size of 120 x 200 pixels and can be in "jpg" or "png" format.
Note: the names of our images will be the same as the region number of our game followed by a "_" and its corresponding nomenclature.
In this case the image file must be renamed as follows:
"SCES_509.71_COV.png"
Back cover
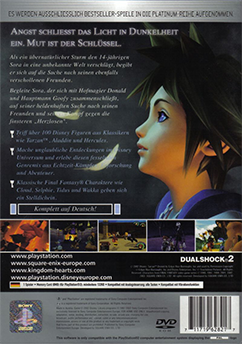
3.- This file corresponds to the nomenclature "COV2", it must have a size of 242 x 344 pixels and can be in "jpg" or "png" format.
In this case the image file must be renamed as follows:
"SCES_509.71_COV2.png"
Disk icon

4.- This file corresponds to the "ICO" nomenclature, it must have a size of 64 x 64 pixels and must be in "png" format.
In this case the image file must be renamed as follows:
"SCES_509.71_ICO.png"
Loin

5.- This file corresponds to the nomenclature "LAB", it must have a size of 18 x 240 pixels and can be in "jpg" or "png" format.
In this case the image file must be renamed as follows:
"SCES_509.71_LAB.jpg"
Logo

6.- This file corresponds to the "LGO" nomenclature, it must have a size of 300 x 125 pixels and must be in "png" format.
In this case the image file must be renamed as follows:
"SCES_509.71_LGO.png"
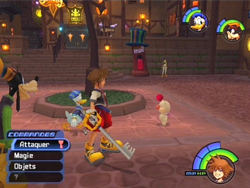
Screenshot
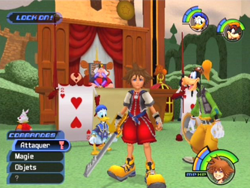
7.- This file corresponds to the nomenclature "SCR", it must have a size of 250 x 188 pixels and can be in "jpg" or "png" format.
In this case the image file must be renamed as follows:
"SCES_509.71_SCR.jpg"
Screenshot 2
8.- This file corresponds to the nomenclature "SCR2", it must have a size of 250 x 188 pixels and can be in "jpg" or "png" format.
In this case the image file must be renamed as follows:
"SCES_509.71_SCR2.jpg"
Background image
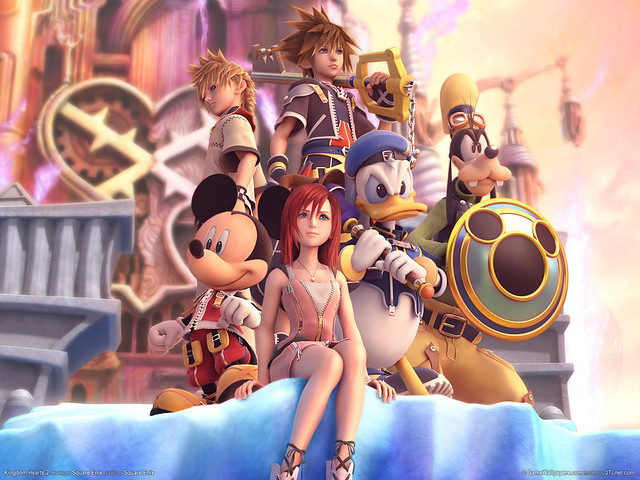
9.- This file corresponds to the nomenclature "BG", it must have a size of 640 x 480 pixels and can be in "jpg" or "png" format.
In this case the image file must be renamed as follows:
"SCES_509.71_BG.png"
10.- Once we have all our images our ART folder will look like the following image:
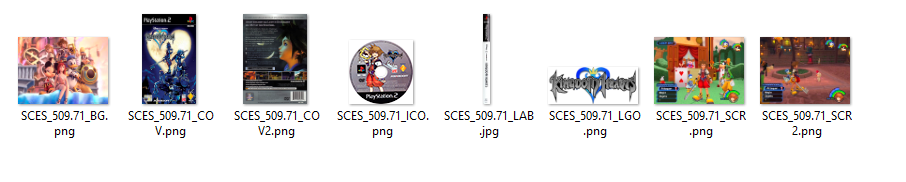
NOTE: It is possible to obtain all multimedia images automatically using a program called "OPLManager" or also "OPL Scanner" for this task.
Configuring OPL
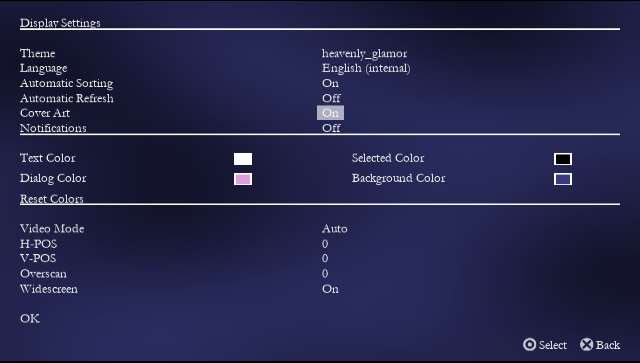
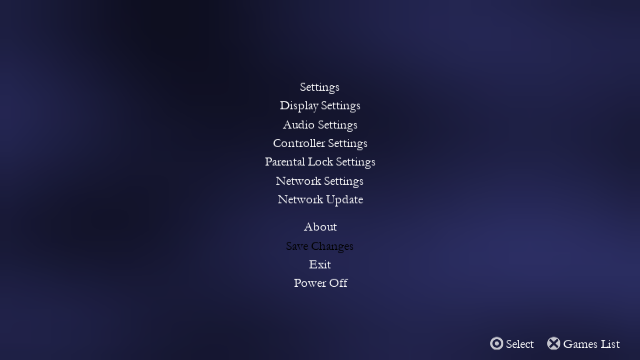
11.- We launch OPL and go to the "Menu" by pressing "START" on our control and select "Display Settings".
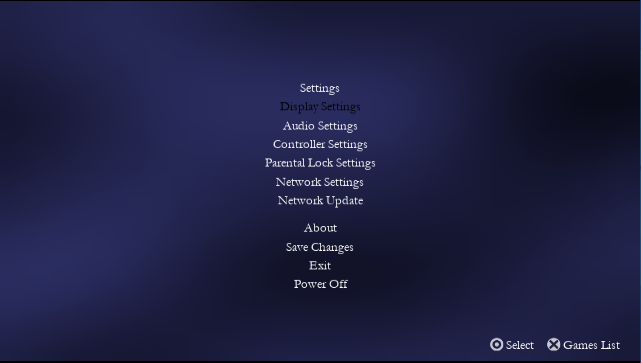
12.- We activate the "Cover Art" option in the settings.
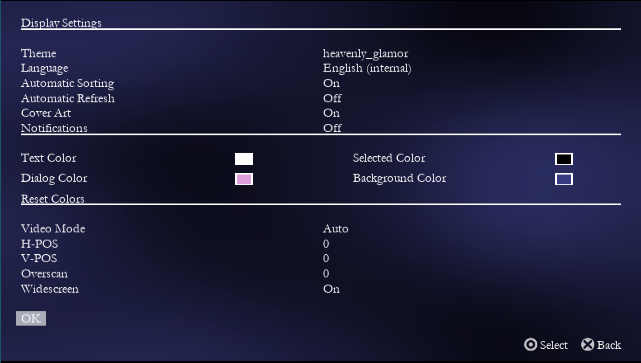
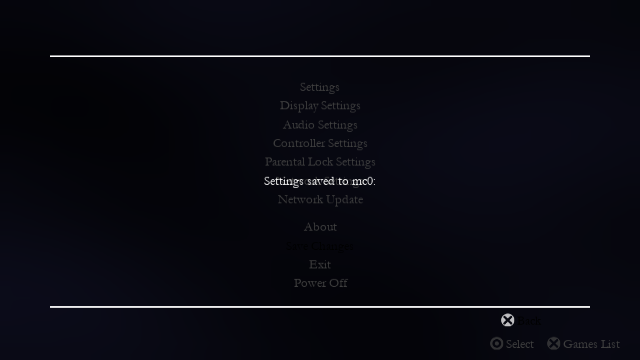
13.- We press "ok" and save the changes.
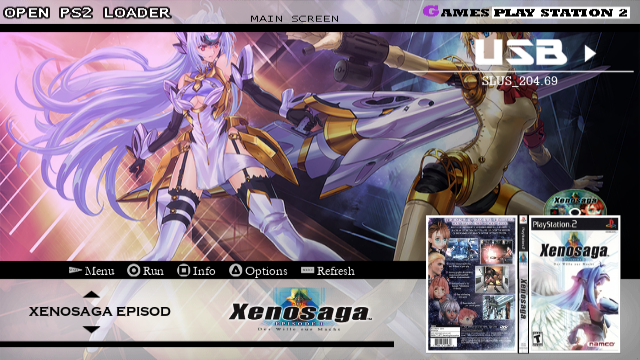
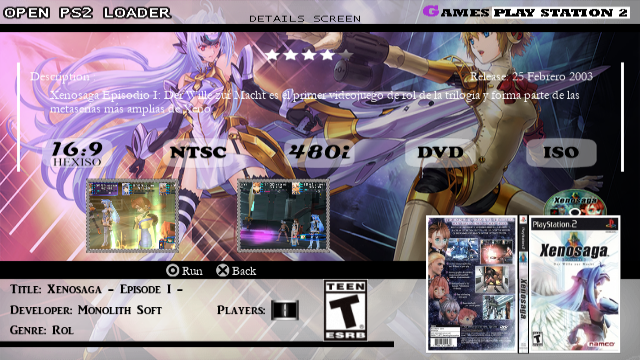
14.- We will now be able to see all the art of our games.
Having our media files will make it easier to search our entire game catalog and improve the look of OPL.
Creating the ART folder
1.- This folder is created automatically the first time you run OPL but you can create it manually if you wish. For this we create a new folder with the name "ART" in the root of our USB device, there we will place all the images of our games .
Front cover
2.- This file corresponds to the "COV" nomenclature, it must have a size of 120 x 200 pixels and can be in "jpg" or "png" format.
Note: the names of our images will be the same as the region number of our game followed by a "_" and its corresponding nomenclature.
In this case the image file must be renamed as follows:
"SCES_509.71_COV.png"
Back cover
3.- This file corresponds to the nomenclature "COV2", it must have a size of 242 x 344 pixels and can be in "jpg" or "png" format.
In this case the image file must be renamed as follows:
"SCES_509.71_COV2.png"
Disk icon
4.- This file corresponds to the "ICO" nomenclature, it must have a size of 64 x 64 pixels and must be in "png" format.
In this case the image file must be renamed as follows:
"SCES_509.71_ICO.png"
Loin
5.- This file corresponds to the nomenclature "LAB", it must have a size of 18 x 240 pixels and can be in "jpg" or "png" format.
In this case the image file must be renamed as follows:
"SCES_509.71_LAB.jpg"
Logo
6.- This file corresponds to the "LGO" nomenclature, it must have a size of 300 x 125 pixels and must be in "png" format.
In this case the image file must be renamed as follows:
"SCES_509.71_LGO.png"
Screenshot
7.- This file corresponds to the nomenclature "SCR", it must have a size of 250 x 188 pixels and can be in "jpg" or "png" format.
In this case the image file must be renamed as follows:
"SCES_509.71_SCR.jpg"
Screenshot 2
8.- This file corresponds to the nomenclature "SCR2", it must have a size of 250 x 188 pixels and can be in "jpg" or "png" format.
In this case the image file must be renamed as follows:
"SCES_509.71_SCR2.jpg"
Background image
9.- This file corresponds to the nomenclature "BG", it must have a size of 640 x 480 pixels and can be in "jpg" or "png" format.
In this case the image file must be renamed as follows:
"SCES_509.71_BG.png"
10.- Once we have all our images our ART folder will look like the following image:
NOTE: It is possible to obtain all multimedia images automatically using a program called "OPLManager" or also "OPL Scanner" for this task.
Configuring OPL
11.- We launch OPL and go to the "Menu" by pressing "START" on our control and select "Display Settings".
12.- We activate the "Cover Art" option in the settings.
13.- We press "ok" and save the changes.
14.- We will now be able to see all the art of our games.
Last edited:

