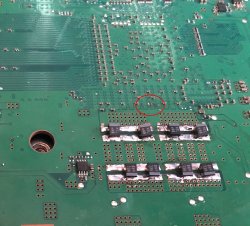
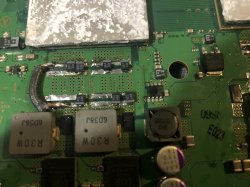
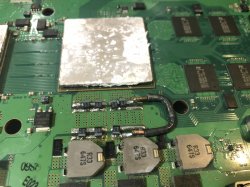
Hiya, i too was trying with some small size B caps like yours (mine were 470uF - 2.5V), also tried adding some 10uF - 25V MLCCs (see photo) but had no success.
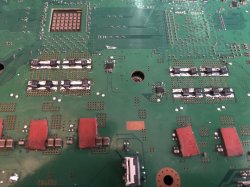
I tried just doing the RSX 1st but still had YLOD, then tried doing the CELL same way as seen in the photo, but no joy. Then i tried without any MLCCs and only had 4 x 470uFs per NEC/Tokin replacement, which was all of them in the end, on both sides, for both RSX & CELL, but still had YLOD.
So i've ordered some size D Panasonic caps in the meantime and desoldered everything. I also have some 470uF 6.3V AVX type around the house that i could try while waiting for the Panasonics to arrive, all being well. I need to replace the bridge wires anyway.
I might have missed the post, but i don't think i have seen a success story using the smaller size B caps yet, seems most / all success stories are with the size D caps. Although it shouldn't make a difference, but maybe there is a tradeoff.
Will aim to update when trying with other caps and larger gauge bridge wires soon, all being well.
View attachment 25665


")